
In the world of perfume marketing, visual allure is paramount. A stunning image of a perfume bottle does more than just showcase the product—it tells a story and evokes a sensory experience. A well-executed photoshoot can transform a simple bottle into an object of desire, capturing its essence and allure in a single frame. In this article, we’ll delve into five techniques that can elevate your perfume bottle photography from ordinary to extraordinary. Whether you’re a professional photographer or an enthusiastic hobbyist, these methods will help you craft images that not only highlight the beauty of the bottle but also enchant potential customers.
Technique #1: play with Light and Shadows
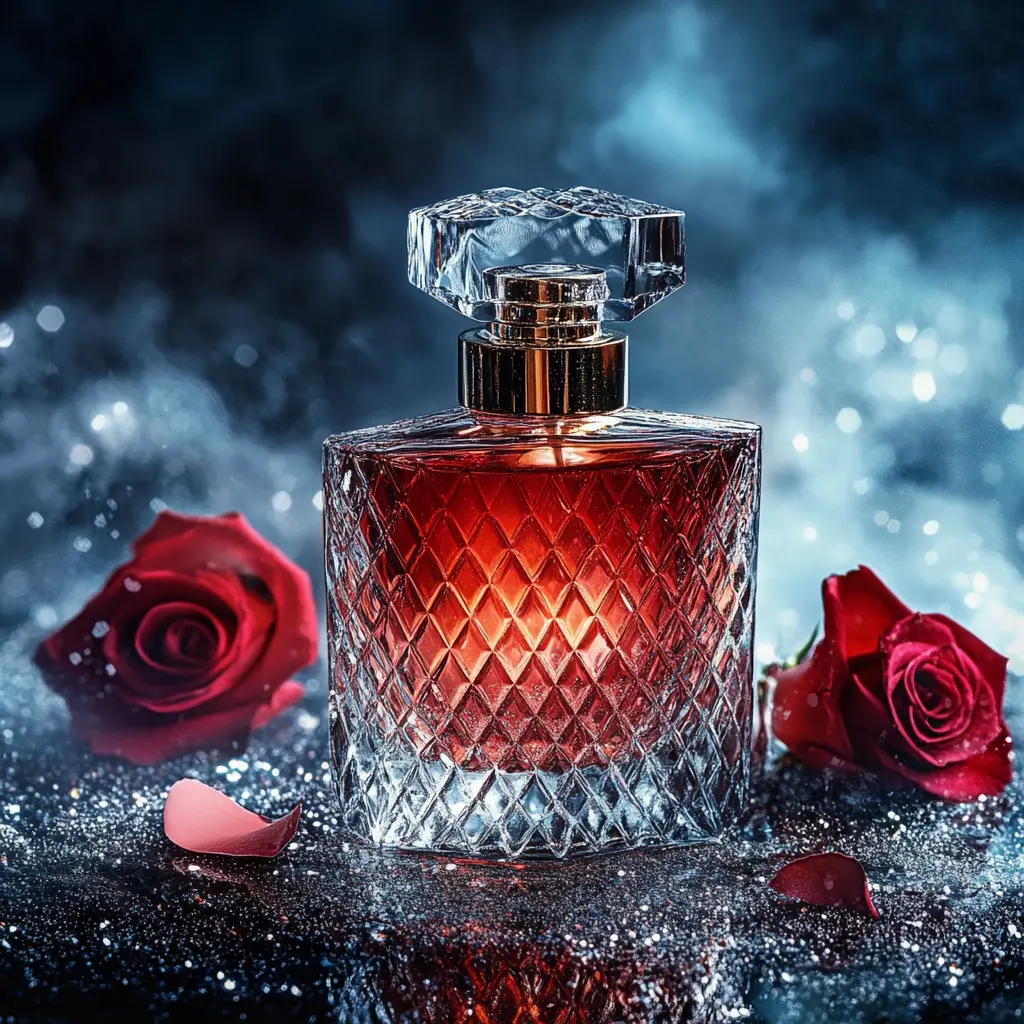
Lighting can make or break a perfume bottle photoshoot. By experimenting with different light sources and shadow techniques, you can accentuate the bottle’s unique features and create a dramatic effect. Start by using natural light to capture the bottle’s form and texture. Soft, diffused sunlight can highlight the bottle’s curves and details without harsh reflections.
For a more controlled environment, consider using studio lighting. Positioning a softbox or diffuser at various angles can help create a gentle, flattering light that enhances the bottle’s appearance. To add depth and dimension, play with shadows by adjusting the light source. Shadows can emphasize the bottle’s contours and create a sense of mystery.
Additionally, colored gels and filters can be used to introduce a creative flair to your lighting setup. Experiment with different hues to evoke various moods or complement the fragrance’s theme. By mastering the interplay between light and shadow, you can create striking images that draw attention and captivate viewers.
Technique #2: embrace Reflections and Mirrors
Incorporating reflections and mirrors into your perfume bottle photography can add an extra layer of sophistication and visual interest. Reflections not only enhance the aesthetic appeal but also create a sense of elegance and depth. Here’s how you can make the most of this technique:
- Choose the Right Mirror: Opt for mirrors with a clean, smooth surface to avoid any unwanted distortions. The size of the mirror should be appropriate for the scale of the perfume bottle, ensuring it complements rather than overwhelms the composition.
- Positioning the Mirror: Place the mirror strategically to reflect the bottle in a way that highlights its unique features. For instance, positioning the mirror at an angle can create a captivating diagonal reflection that adds a dynamic element to the image. Experiment with different placements to find the most flattering reflection.
- Lighting Considerations: Be mindful of how lighting affects the reflections. Ensure that the light source does not create unwanted glare or hot spots on the mirror’s surface. Soft, diffused lighting often works best to produce a gentle and even reflection.
- Background and Environment: Reflections can also enhance the background and overall environment of the shot. Use mirrors to reflect interesting backgrounds or textures that complement the perfume bottle, creating a cohesive and visually appealing composition.
- Creative Uses: Beyond simple reflections, consider using mirrors in creative ways. For example, a mirrored surface beneath the bottle can create an illusion of floating or enhance the perception of luxury. You can also use multiple mirrors to create intricate patterns and shapes, adding a touch of artistry to your photos.
By thoughtfully incorporating reflections and mirrors, you can elevate your perfume bottle photography, creating images that are not only beautiful but also captivating and memorable.
Technique #3: utilize Creative Backgrounds
The background of your photoshoot plays a crucial role in highlighting the perfume bottle and setting the tone for the image. A well-chosen background can complement the bottle’s design, enhance its features, and create a cohesive look. Here’s how to effectively use creative backgrounds:
- Match the Theme: Choose backgrounds that align with the theme or mood of the fragrance. For a luxurious scent, consider using rich, textured fabrics like velvet or silk. For a fresh and light fragrance, a clean, minimalistic background might be more appropriate.
- Texture and Patterns: Adding texture or patterns to the background can create visual interest and depth. Use materials such as marble, wood, or patterned paper to introduce subtle details that enhance the overall composition. Be sure that the background does not overshadow the bottle but rather complements it.
- Color Coordination: The background color should contrast or harmonize with the perfume bottle. If the bottle has bold colors, opt for a more subdued background to let it stand out. Conversely, a vibrant background can add energy and excitement if the bottle itself is more neutral.
- Lighting and Shadows: The background also influences the lighting and shadows in your shot. Ensure that the background color or texture interacts well with the lighting setup, enhancing the bottle’s appearance without creating unwanted distractions.
- Layering and Depth: Create a sense of depth by layering different backgrounds or incorporating elements like soft-focus props. This technique can make the bottle appear more three-dimensional and engaging.
- Custom Backgrounds: For a truly unique look, consider designing custom backgrounds tailored to the perfume’s branding. This might include graphics, logos, or bespoke patterns that reinforce the product’s identity.
By paying attention to the background, you can create a setting that enhances the perfume bottle’s visual appeal, making your photoshoot more impactful and aesthetically pleasing.
Technique #4: incorporate Props and Accessories
Props and accessories can significantly enhance the visual storytelling of a perfume bottle photoshoot. By carefully selecting and arranging these elements, you can add context, style, and a narrative that resonates with the fragrance’s identity. Here’s how to effectively incorporate props and accessories into your photoshoot:
- Select Relevant Props: Choose props that complement the fragrance’s theme or evoke the desired mood. For instance, if the perfume has a floral scent, consider using fresh flowers, petals, or botanical elements. For a sophisticated, luxury perfume, elegant items like vintage jewelry, ornate boxes, or high-end fabrics can add a touch of glamour.
- Create a Story: Use props to build a narrative around the perfume bottle. Think about how each item contributes to the story you want to tell. For example, if the fragrance is inspired by travel, incorporate elements like old maps, travel journals, or vintage suitcases.
- Balance and Composition: Ensure that props do not overpower the perfume bottle but rather enhance it. Arrange props around the bottle in a way that creates a balanced composition. Use the rule of thirds to guide the placement of the bottle and props within the frame.
- Texture and Contrast: Incorporate props with different textures to create contrast and visual interest. For example, juxtapose a sleek, modern perfume bottle with rustic wooden elements or soft, luxurious fabrics.
- Color Coordination: Match or contrast the colors of the props with the perfume bottle and background. Harmonious colors can create a cohesive look, while contrasting colors can make the bottle stand out more prominently.
- Scale and Proportion: Consider the scale of the props in relation to the perfume bottle. Small accessories should not overshadow the bottle, while larger props should be used thoughtfully to avoid dominating the frame.
- Practical Tips: Ensure props are clean and well-maintained to avoid any distractions in the final image. Use adhesive or mounting techniques if necessary to keep props in place and prevent them from shifting during the shoot.
Incorporating props and accessories effectively can add a layer of sophistication and storytelling to your perfume bottle photoshoot, making the images more engaging and memorable.
Technique #5: experiment with Angles and Perspectives
Exploring various angles and perspectives can reveal different facets of a perfume bottle and create visually striking images. By experimenting with how you position the camera, you can highlight the bottle’s design, texture, and details in unique ways. Here’s how to make the most of this technique:
- High Angles: Shooting from above the bottle can showcase its top design and label. This perspective is ideal for emphasizing the cap’s details or for creating a flat lay arrangement with complementary props.
- Low Angles: Capturing the bottle from below can give it a dramatic and imposing presence. This angle can highlight the bottle’s base and create a sense of grandeur or sophistication.
- Close-Ups: Use macro photography to focus on intricate details such as the bottle’s texture, label, or decorative elements. Close-up shots can reveal the craftsmanship and quality of the perfume bottle.
- Side Views: Photographing from the side can accentuate the bottle’s profile and design features. This perspective is useful for showcasing the bottle’s silhouette and any unique design elements along its sides.
- Diagonal and Angled Shots: Experiment with diagonal or angled compositions to add dynamism and interest to the image. This approach can create a sense of movement and energy, making the bottle appear more dynamic and engaging.
- Reflections and Mirrors: Incorporate reflections or mirrored surfaces to explore how different angles affect the perception of the bottle. Reflective surfaces can introduce additional perspectives and create visually captivating effects.
- 360-Degree Views: Consider creating a series of images from various angles to provide a comprehensive view of the perfume bottle. This technique can be particularly effective for online presentations or product showcases, allowing viewers to see the bottle from multiple perspectives.
By experimenting with different angles and perspectives, you can uncover new ways to present the perfume bottle, capturing its essence and appeal in visually compelling ways.
Bringing Your Vision to Life
In the realm of perfume bottle photography, creativity and technique go hand in hand. By applying the techniques discussed—playing with light and shadows, embracing reflections and mirrors, utilizing creative backgrounds, incorporating props and accessories, and experimenting with angles and perspectives—you can transform ordinary product shots into captivating visual stories. Each technique offers a unique way to highlight the beauty and essence of a perfume bottle, allowing you to create images that resonate with viewers and enhance brand appeal.
Remember, the key to successful perfume bottle photography lies in experimentation and attention to detail. Don’t be afraid to try different combinations of lighting, backgrounds, props, and angles to find what works best for each specific bottle. Continuously refine your approach based on feedback and observation to achieve the most striking results.
As you embark on your next photoshoot, keep these techniques in mind to elevate your work and create memorable, enchanting images that truly capture the spirit of the fragrance. With practice and innovation, you’ll be able to craft visually stunning photographs that make a lasting impression on your audience.
Q&A
The best lighting for perfume bottle photography depends on the effect you want to achieve. Soft, diffused lighting is generally ideal for highlighting the bottle’s features without harsh reflections. Natural light can create a gentle, flattering effect, while studio lighting allows for more control. Experiment with different setups, such as side lighting for dramatic shadows or backlighting for a luminous glow, to find what best enhances the bottle’s design.
To avoid unwanted reflections, carefully position your light sources and camera angle. Use diffusers to soften the light and reduce glare. Additionally, consider using polarizing filters on your camera to control reflections and enhance the clarity of the bottle. If reflections are still problematic, adjust the angle of the bottle or the light source until you achieve the desired result.
Creative use of props can add depth and narrative to your photos. Choose props that complement the fragrance’s theme, such as flowers for floral scents or elegant fabrics for luxury perfumes. Arrange props to create a balanced composition that enhances the bottle without overshadowing it. For added creativity, experiment with layering props or using them to frame the bottle in a visually appealing way.